The Tongariro Crossing is one of the biggest and best day hikes in New Zealand.
Mars-like volcanic peaks and smoking craters may not be the first thing you had in mind for your trip to NZ, but the epic factor on this one is off the charts.
If these apocalyptic landscapes look like something right out of ‘Mordor’ in the Lord of the Rings movies, that’s because all of those scenes were filmed here!
Definitely try to fit this hike into your New Zealand itinerary! This travel guide will explain how to get there, and everything you need to know before you go!


Where Is Tongariro?
Tongariro National Park is located on the North Island of New Zealand.
The nearest town is Turangi, which is about a 20 minute drive from the park, or a 4 hour drive from Auckland or Wellington.
History & Culture
The mountains of Tongariro are considered sacred in the local Maori culture, and it became New Zealand’s first national park in 1894.
In the 1990s, the park was recognized by UNESCO as a World Heritage Site because of its outstanding natural and cultural value.
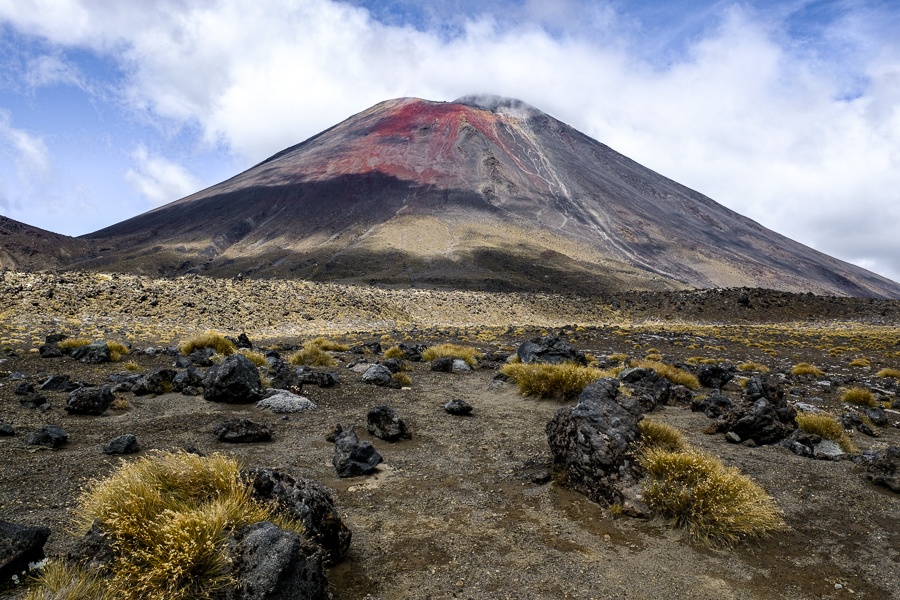
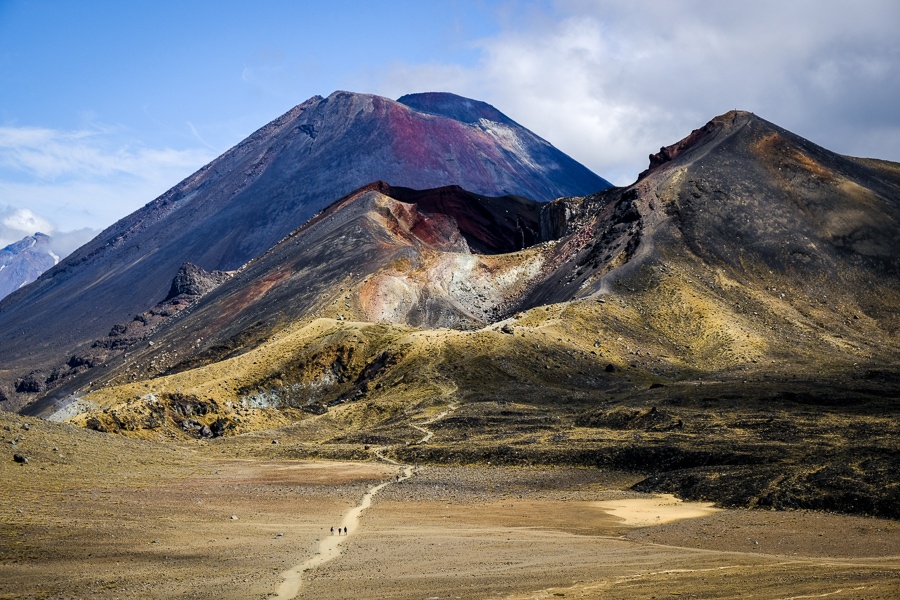
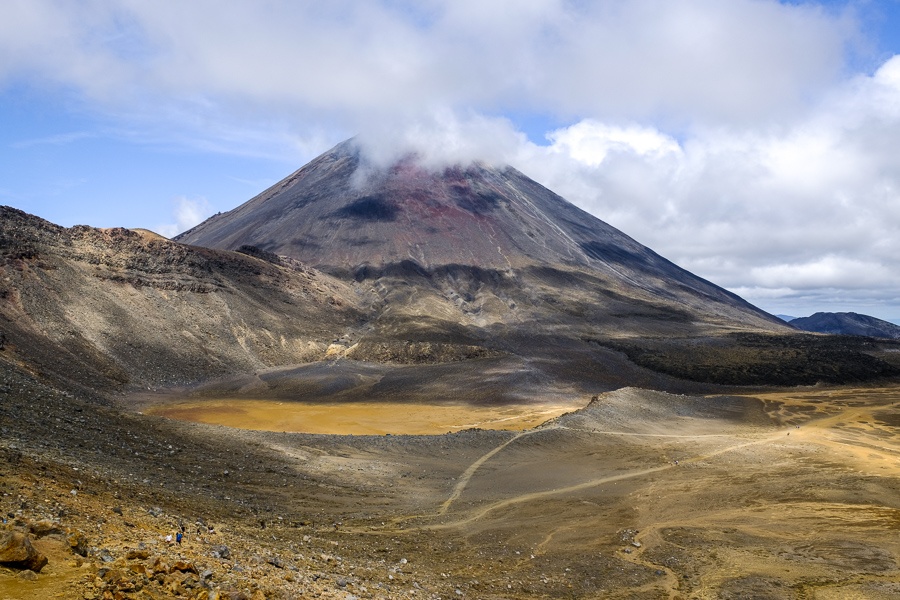
More recently, one of the big volcanic peaks in the park (Mount Ngauruhoe), was used as the filming location for Mount Doom in the famous ‘Lord of the Rings’ movies.
Nowadays, the trail is hiked by more than 150,000 people per year!

What To Expect: Tongariro Crossing
The Tongariro Crossing is a difficult point-to-point hike that takes most of a day to complete.
You’ll hike through an active volcanic area with smoking heat vents, petrified lava rocks, and giant volcanic craters. The last significant eruption was in 2012. Of course, volcanic activity here is constantly monitored, but there’s no safety guarantee.
Don’t let any of this put you off, because it’s probably one of the coolest hikes in the world! That’s also why it does get a little crowded, especially on weekends.
We did the crossing on a cool summer day and it wasn’t as hard as we expected. Ok, there were a couple moments where we felt like Frodo and Sam trudging wearily through Mordor, but it was manageable and behind every hill we climbed was a rewarding new view.
Just come prepared. Bring lots of water and a jacket for the top of the mountain. Toilets are conveniently placed every 1-2 hours along the trail.
Quick Facts
- Distance: 19.5 km (12 mi) point-to-point
- Elevation Gain: 765 m (2,500 ft)
- Elevation Loss: 1,125 m (3,700 ft)
- Max Altitude: 1,900 m (6,250 ft)
- Difficulty: Strenuous
- Duration: 6 to 8 hours
🔸 Part 1: Mangatepopo To Soda Springs
Easy walk – 1 hour
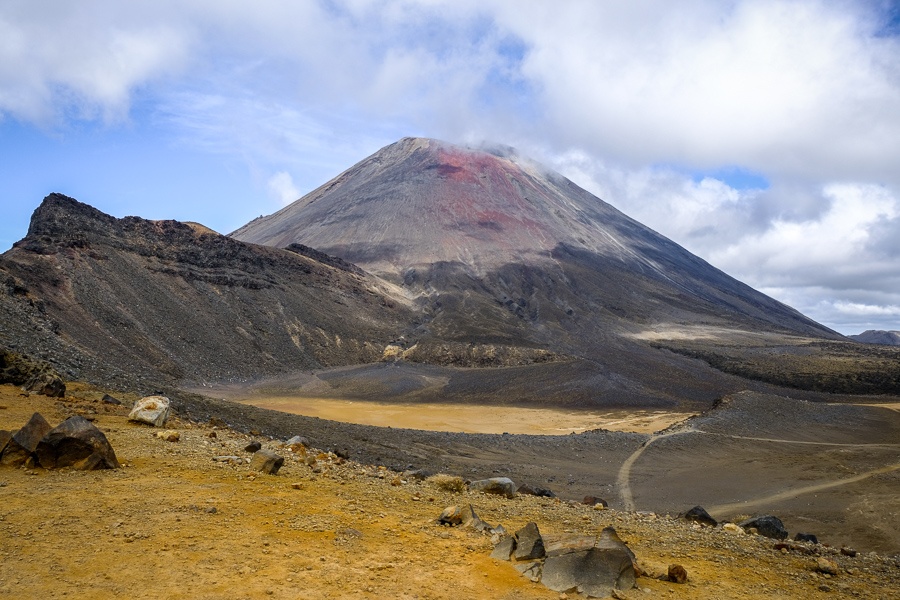
This section is flat and well maintained. You’ll walk past mounds of volcanic rocks and a marshy sulfur stream, with early views of the ‘Mount Doom’ volcano.
Near the end is a small waterfall called Soda Springs that you can walk up close to.
🔸 Part 2: Soda Springs To South Crater
Moderate/difficult ascent – 40 to 60 minutes
Climb the ‘Devil’s Staircase’ up to the South Crater. This is one of the steeper sections of the trail, so take your time.
🔸 Part 3: South Crater To Red Crater
Moderate ascent – 1 hour
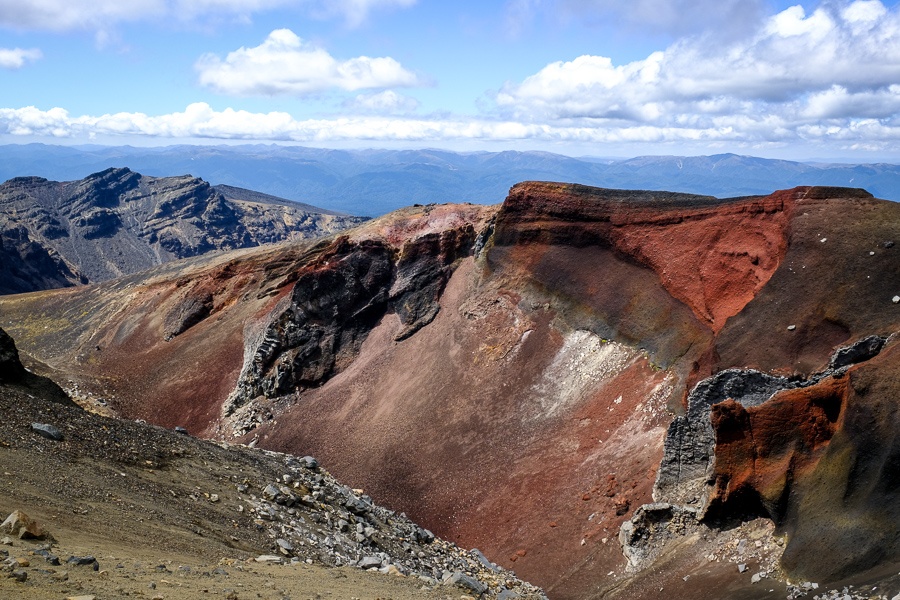
This section starts out as a flat walk for about 15 minutes, then it’s 30+ minutes of steep ascent to the Red Crater Ridge (pictured above).
It’s windy here and the gravel can be slippery, so keep your distance from the edge and proceed carefully.
🔸 Part 4: Red Crater To Blue Lake
Easy descent/flat walk/moderate ascent – 30 to 60 minutes
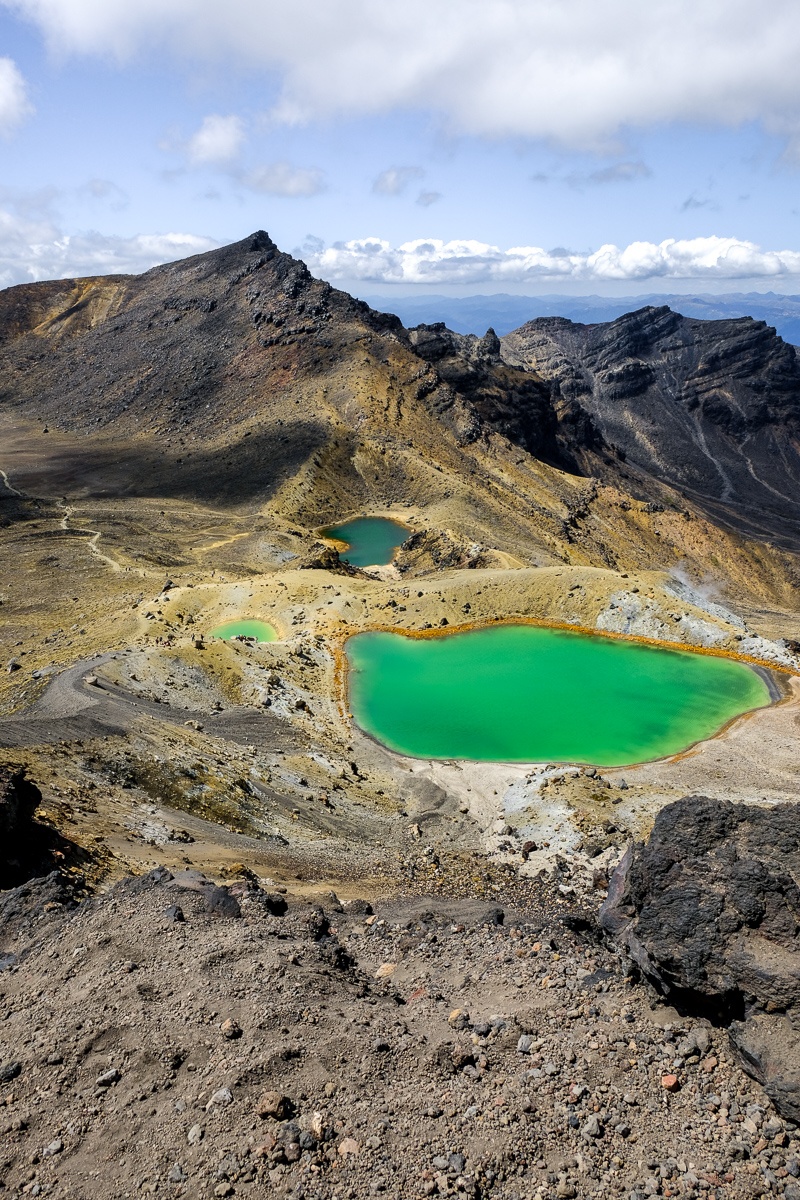
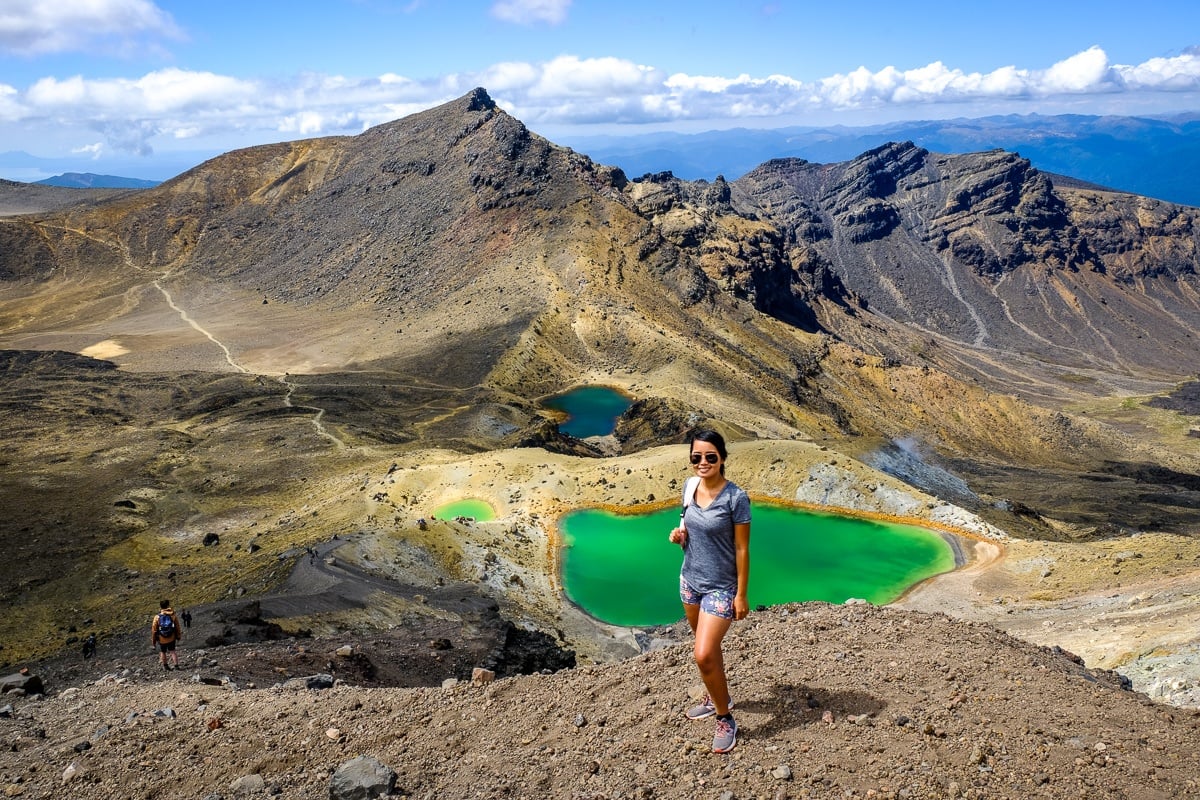
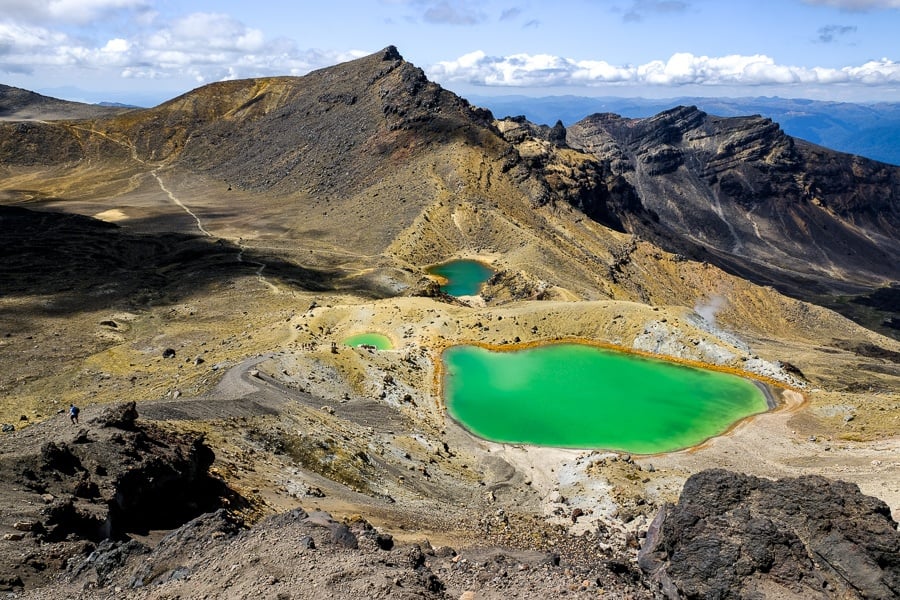
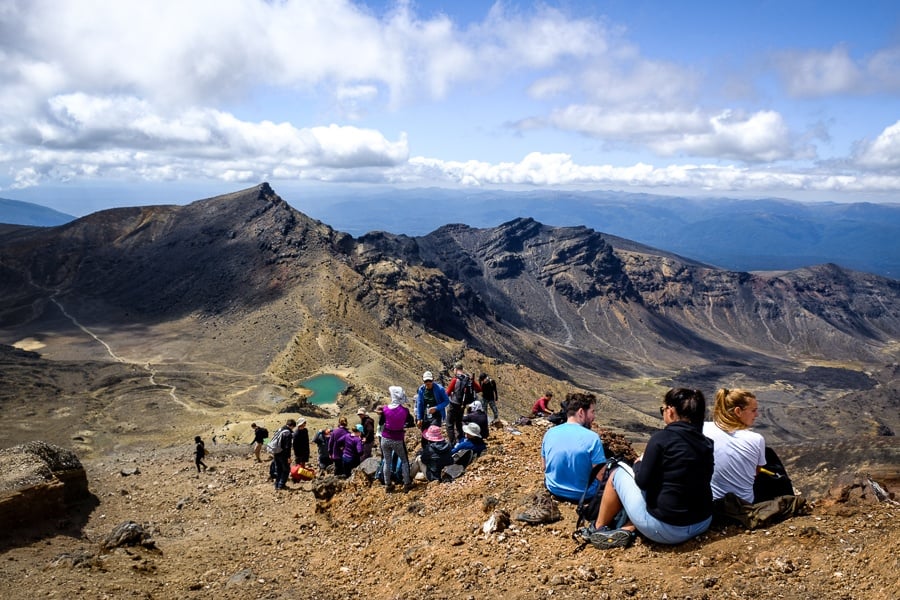
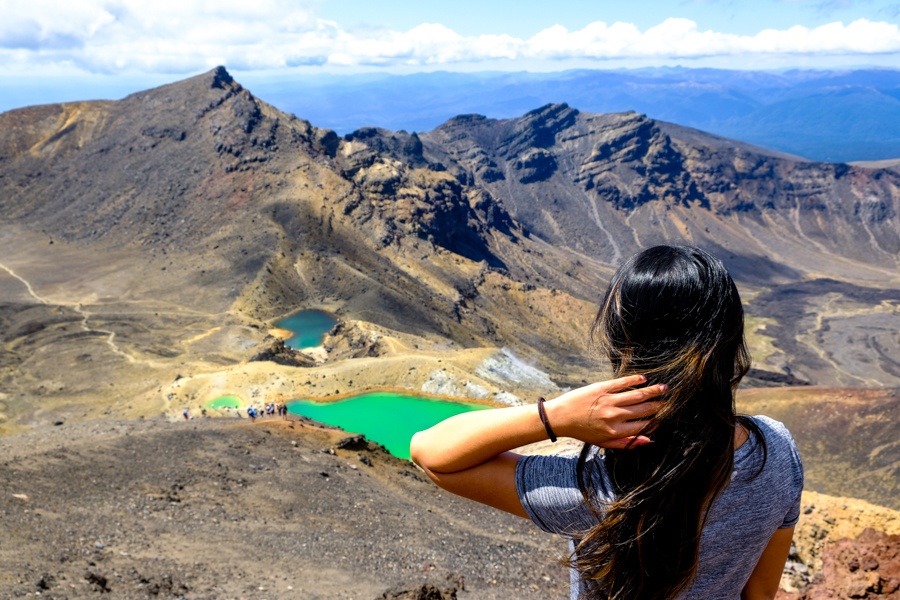
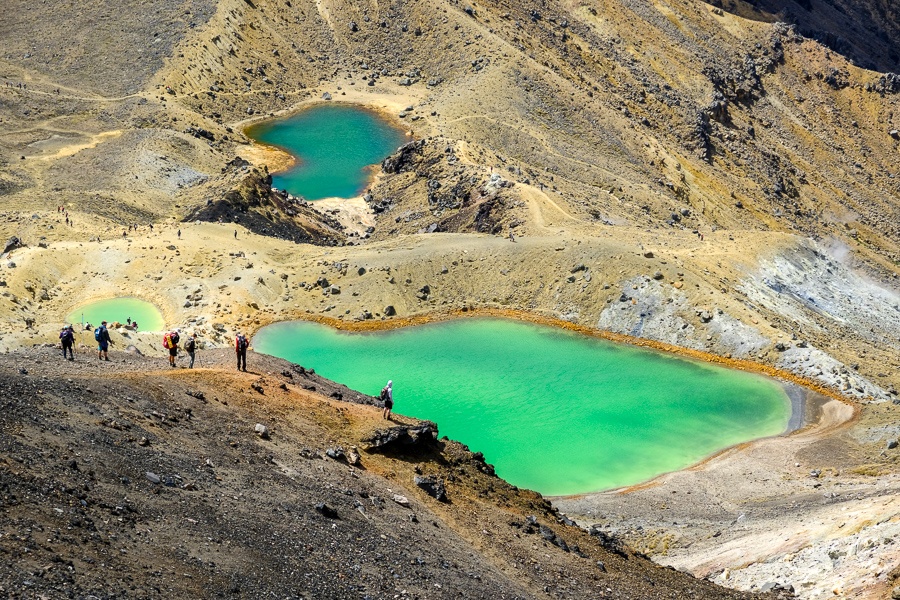
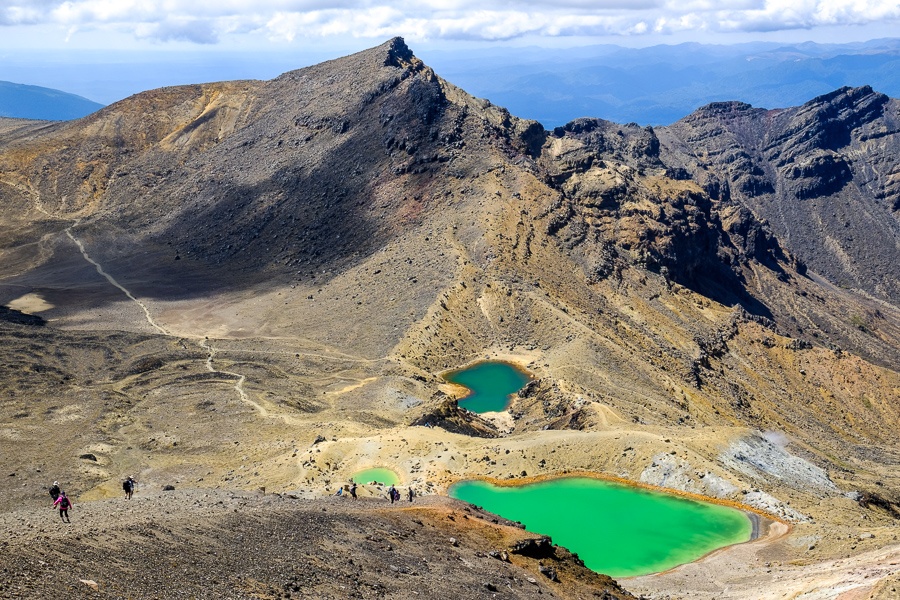
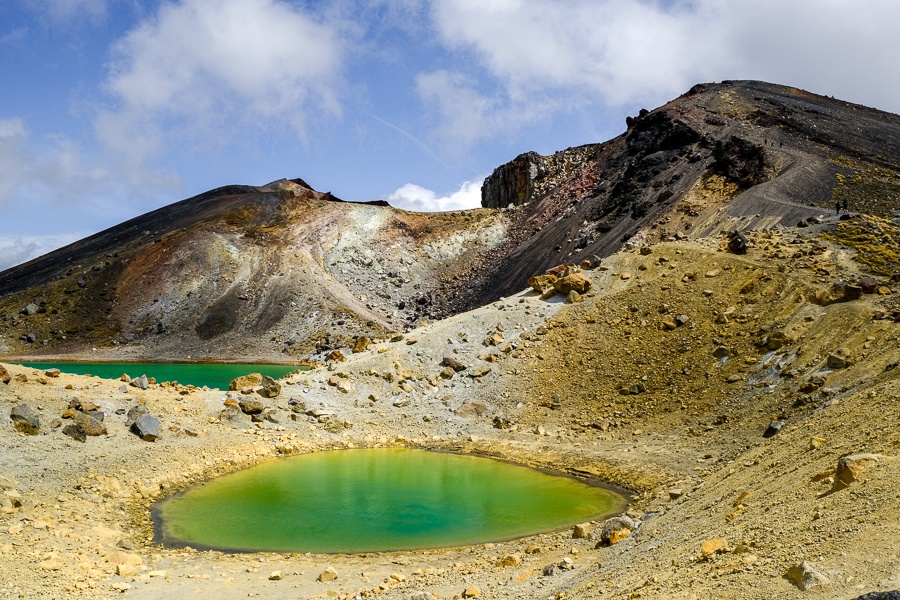
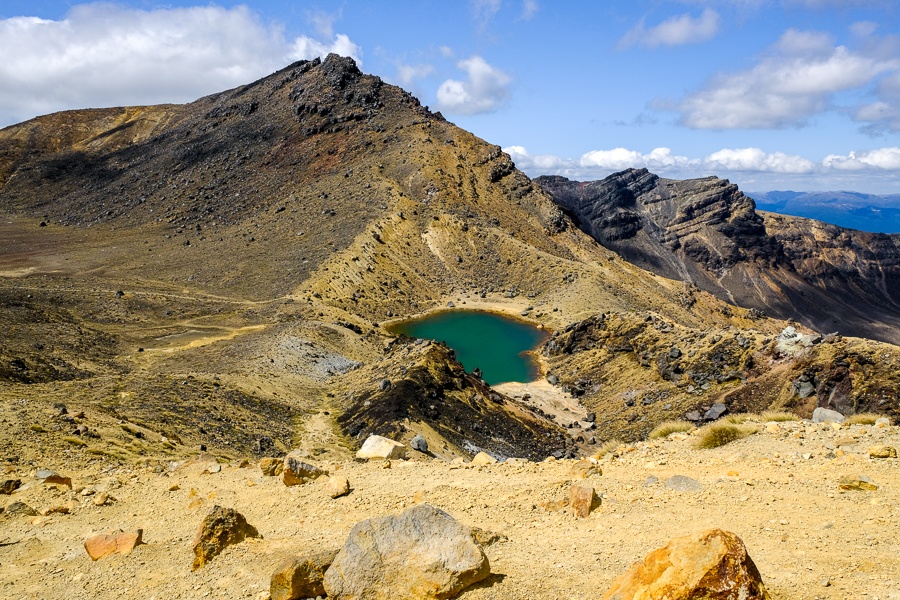
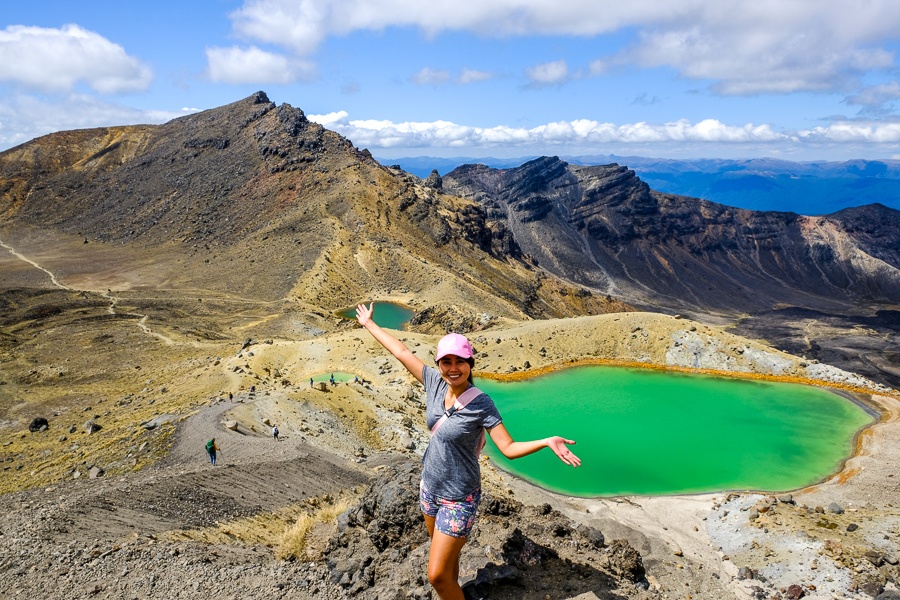
Prepare your camera and snacks, because this is the most scenic part of the hike by far! Behind you is the ‘Mount Doom’ volcano, to your right is the Red Crater, and below you are the three bright green Emerald Lakes.
The scree on the way down to Emerald Lakes is very slippery. This part is fun. You can almost surf down it on your feet! Just roll with it (no pun) and maybe turn sideways for better balance.
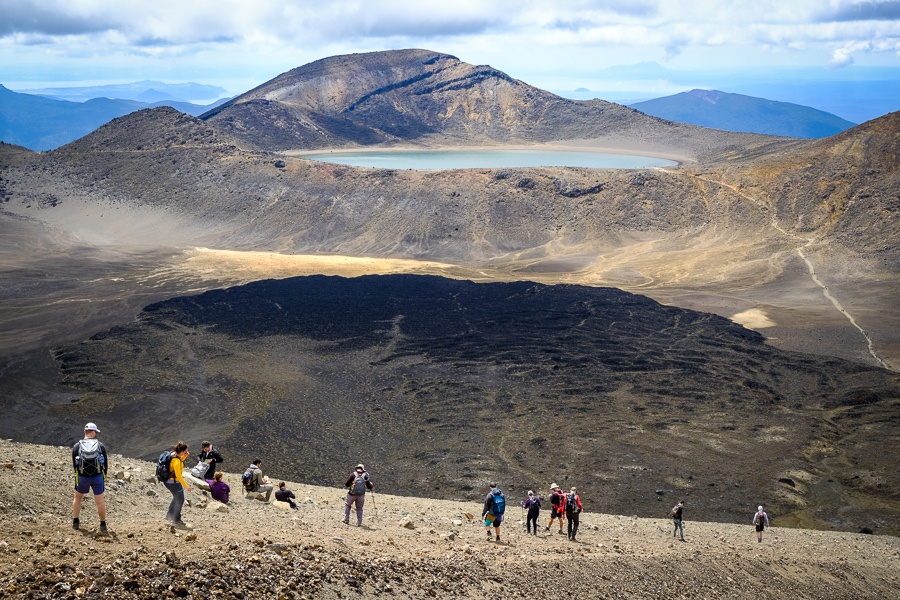
After you reach the Emerald Lakes, it’s a flat walk and then a short uphill ascent to Blue Lake.
🔸 Part 5: Blue Lake To Ketetahi Shelter
Easy descent – 1 hour
There’s a short ascent to the edge of the North Crater, and then from here, just go down, down, down! The trail is well maintained all the way and never gets too steep.
On a clear day you’ll get amazing views of the plains and Lake Rotoaira in the distance.
🔸 Part 6: Ketetahi Shelter To Ketetahi Car Park
Easy descent – 2 hours
The end section is the most boring part of the trail. Just keep going down, down, down into the trees, and then the trail will flatten out as you follow another sulfuric stream through the forest.
You’ll emerge into a small parking lot (not the one where you started), and then follow this for the remaining 1 km back to the car park where your vehicle is waiting for you. Done!

What To Bring
- Water: Bring 2L per person or more. There’s no suitable drinking water along the trail.
- Snacks: Junk food makes a long hike easier. It just does! This is your perfect opportunity to pig out on Sour Patch Kids.
- Footwear: Wear sturdy hiking shoes. You’ll be walking all day, sometimes on slippery gravel and steep inclines or declines.
- Jacket: Bring a jacket even if it’s a warm day and you think you won’t need it. It can get cold at the top of the mountain even in summer.
- Headlight: Might be a good idea, especially if you’re a slow hiker, because it could be dark when you get back to your car.
- Camera: Duh! (but sadly no drones allowed)

How To Get There
This is a point to point hike, so the process can be a little confusing at first.
You’ll need to park your car at the Ketetahi car park and then have a shuttle take you to the start of the hike at Mangatepopo.
That way, once you hike across the mountain and arrive back at Ketetahi, your car will be waiting for you and you can leave immediately.
Tongariro Crossing Shuttle
You’ll need a shuttle to take you from the car park over to the starting trailhead on the opposite side of the mountain. This is required. The one way shuttle rides leave at 5:30, 6:30, 7:30, 8:30, and 9:30 AM, and the ride takes 30-45 minutes.
You can book this service online with GetYourGuide or directly with one of the shuttle companies (there are several). It costs about $40 NZD ($28 USD) per person and I would recommend booking at least a few days in advance if possible.
The other option is to book a guided tour of Tongariro with GetYourGuide, which is more pricey but includes transport, lunch, and a guide to help you along for the full hike.
When To Go
The best time to do the Tongariro Crossing is from November to April.
Even in these months, it’s a good idea to keep an eye on any DOC weather advisories, because the trail is sometimes closed because of cruddy weather conditions.
During New Zealand’s winter (from May to October), the trail is covered with snow and ice, and it can be dangerous. Don’t attempt it during these months unless you know what you’re doing and have the proper gear.
Where To Stay – Camping
The night before your hike, you’ll ideally want to stay as close to the Tongariro National Park as possible.
You can stay at one of the comfy holiday parks in Turangi, or there several free campgrounds in the nearby Kaimanawa Forest Park:
These are all very basic DOC campgrounds with drop toilets, no showers, etc. You can find more info on each in the very handy CamperMate app.
We decided to stay at a free campground (Waikoko) the night before the hike, and then a holiday park in Turangi the night after. That way we had a nice hot shower and other camping facilities waiting for us after the hike.
Regardless of whether you decide to stay in Turangi or Kaimanawa, either area is just a 20-30 minute drive from the national park. Perfect!